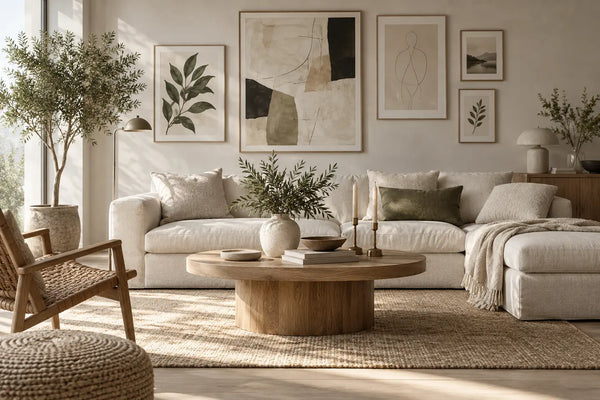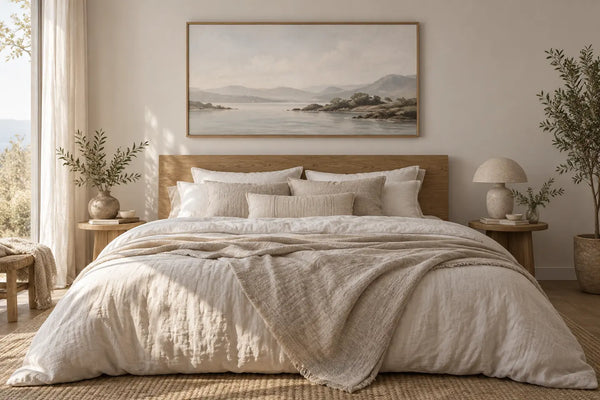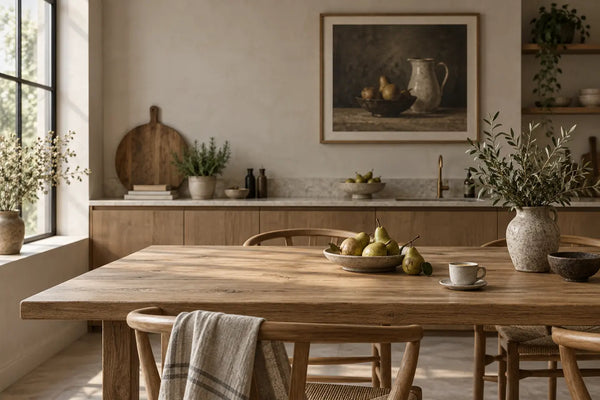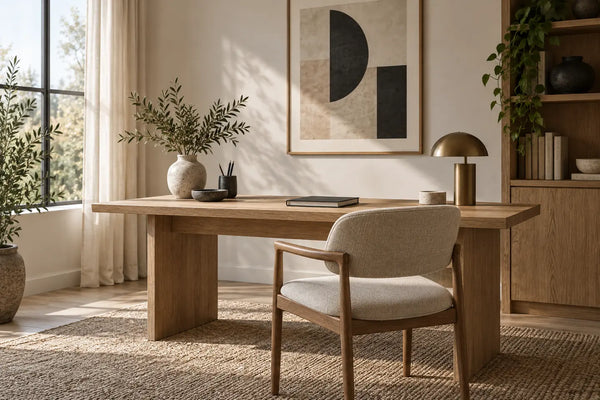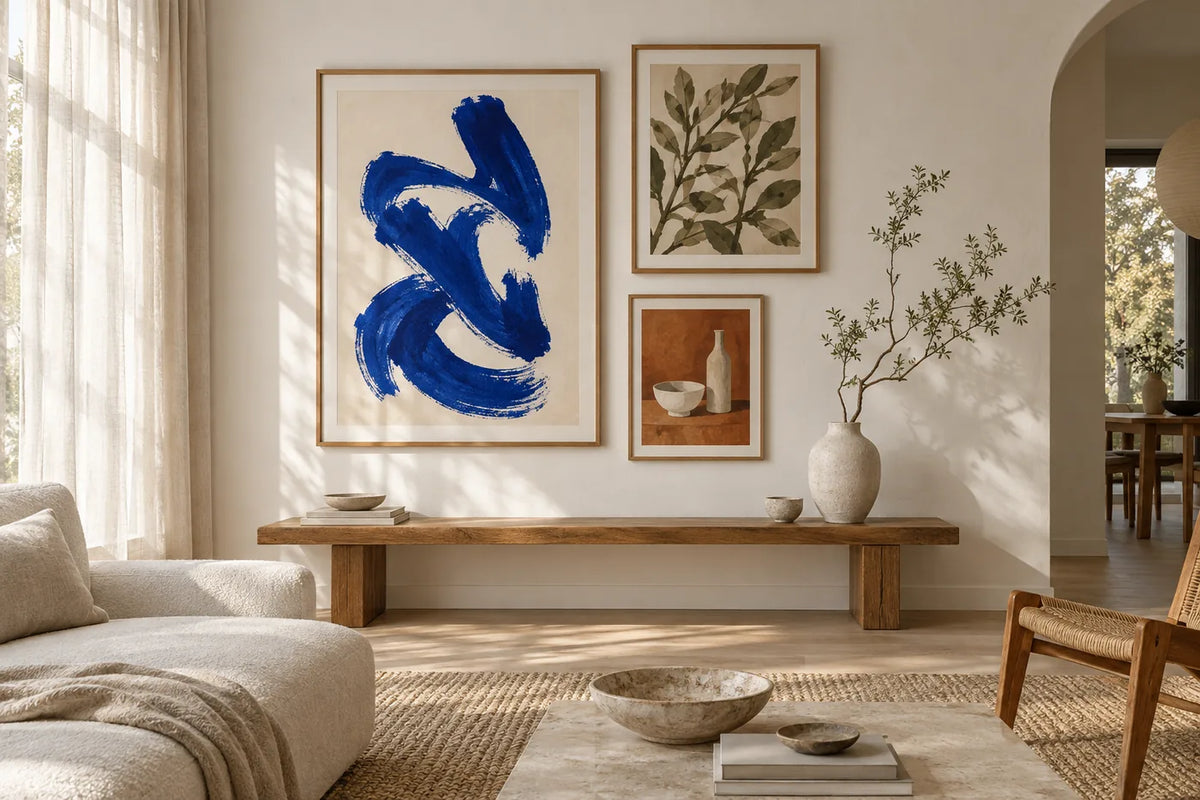
A gallery wall starts with a small connection between the prints: a colour, a subject or a similar mood. Choose one piece you want to live with, then plan the arrangement around it. You can begin with two prints and add more later.
Choose a layout for the space
A balanced pair: two prints of the same size suit a narrow arrangement above a sideboard or in a reading corner. Align their top or centre lines and use an even gap.
A row of three: equal sizes create a steady rhythm across a wider wall. Three portrait 30 × 40 cm prints, with 6 cm between them, span 102 cm before allowing for the frame profiles. Use the actual outside frame widths for the final measurement.
A mixed group: place the largest piece first, slightly away from the middle if you prefer an informal layout. Add a smaller piece to balance its visual weight, then fill only the spaces that need another image. A shared outside edge or centre line can keep different sizes connected.
Combine motifs without making everything match
Choose one linking element and let the subjects vary. A green leaf illustration can sit beside a landscape with green details. A monochrome photograph can give a colourful abstract print some breathing room. Alternate intricate images with quieter compositions so that each piece remains visible.
Try botanical posters with nature art, or combine photography with abstract prints. Our colour guide explains how to connect the grouping with your room.
How much space should you leave between frames?
A gap around 5–8 cm is a useful starting point for many smaller groupings. Adjust it to the scale of the frames and the available wall. Consistency usually matters more than choosing one exact measurement. Lay out the frames on the floor and photograph two alternatives to compare them.
Measure the whole group before hanging
- Measure every frame from outside edge to outside edge.
- Add the planned gaps to find the total width and height.
- Compare the grouping with the furniture and nearby fixtures.
- Make paper templates and test the layout at a comfortable viewing height.
- Mark the position of each hanger separately; its fixing point may sit below the frame's top edge.
Use fixings appropriate for the wall material and the weight of each framed print, following the hardware manufacturer's guidance. Check for hidden services before drilling.
Build a wall you can change
Leave room at an outer edge if you expect to add more art. A repeated colour or frame finish helps future additions belong without requiring an identical set. Save your preferred arrangement and measurements so you can return to them.
Compare formats in the poster size guide, explore living room art or try the gallery wall preview tool as a visual starting point. A preview does not replace measuring your real wall and frames.